 A Homemade Scratch Pad for 2 Muggles
The one benefit of being a review blogger is that we have a nice flow of boxes arriving which makes for a lot of cardboard. I hate the idea of just throwing the cardboard away and I have long talked about making a scratch pad for Maggee and Murfee. I see these grand cat scratch posts that people make and while I dream of creating one, realistically I know that it is best to start easy and build up.
These two animals love their scratch pad and I can honestly say they rarely use our couch or items they should not use. To thank them for their pad loyalty, I figured it was time to make them their own scratch pad.
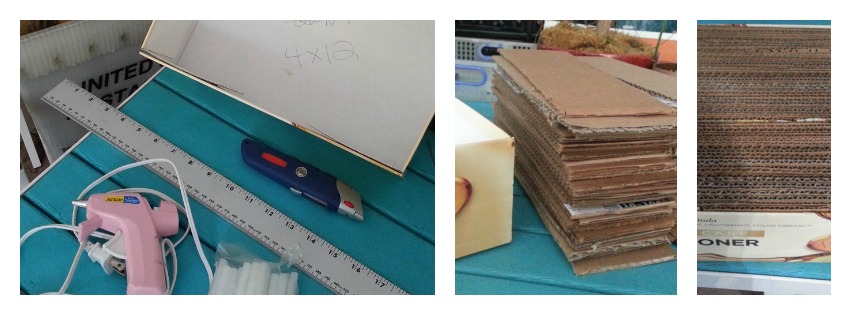
 I gathered my materials:
- A box with sturdy sides – I used a box from a recent Costco trip that worked great!
- A ton of cardboard to slice and dice
- A ruler, hot glue gun, extra glue sticks, a pencil and a sharp utility knife.
- Space to stack and space to spread your arms
- About 3-4 hours of time including prep to completion
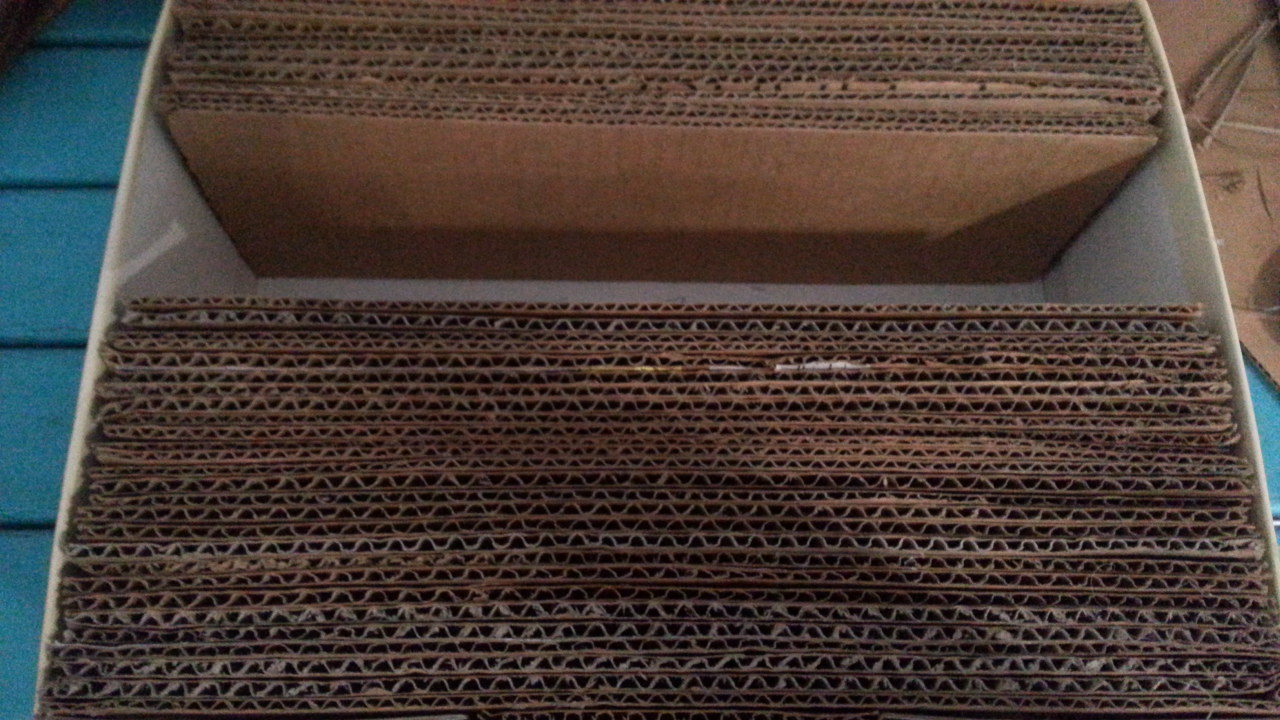
Once I gathered all my materials I sat down, I came up with my plan which basically consisted of measuring the inside of the box. I measured the length and height of the inside of the box and then took those measurements and put them on a piece of cardboard to be used as my template.
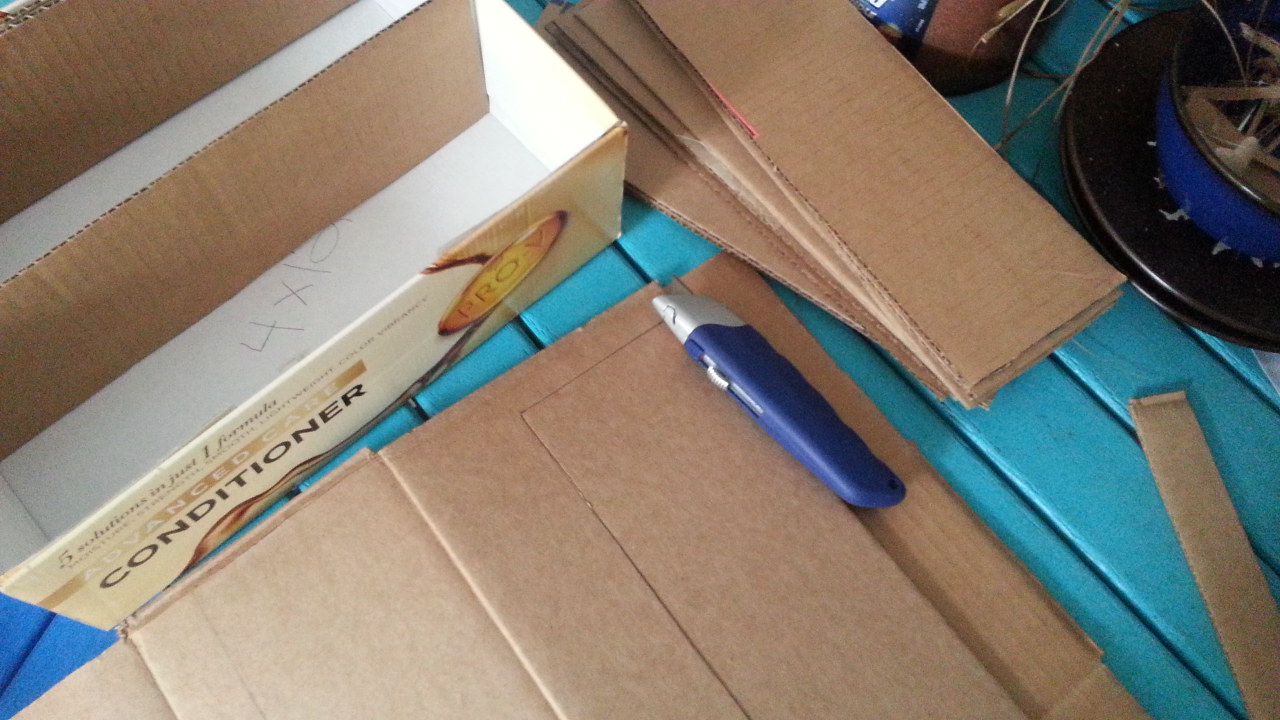 Depending on size of the box it can take many of these blocks – it took me about 65 to fill a 9×12 box. I just used the template and began slicing and dicing boxes – total about 2 hours going at a careful easy-going pace.
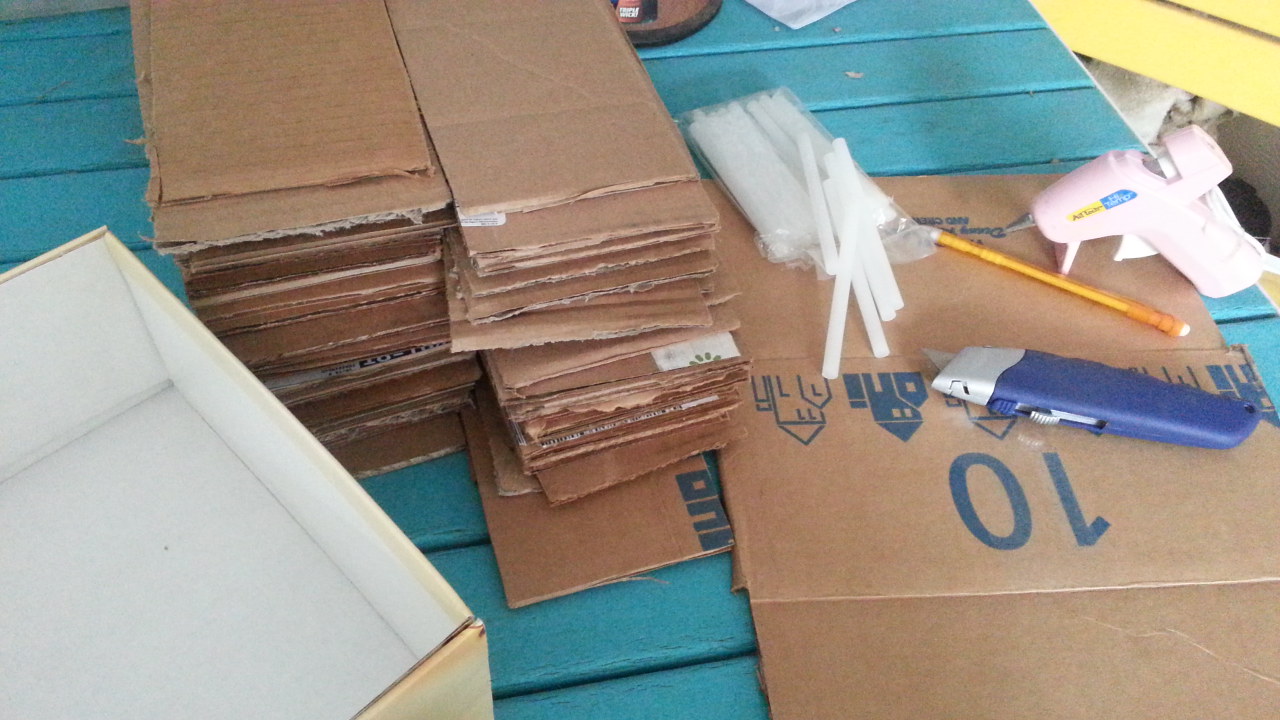 When I was done I had a nice stack of cardboard blocks.
 What I did was fit each one in the box and made any minor adjustment as needed for the tight fit I wanted. I glued the first block to the inside of the box.
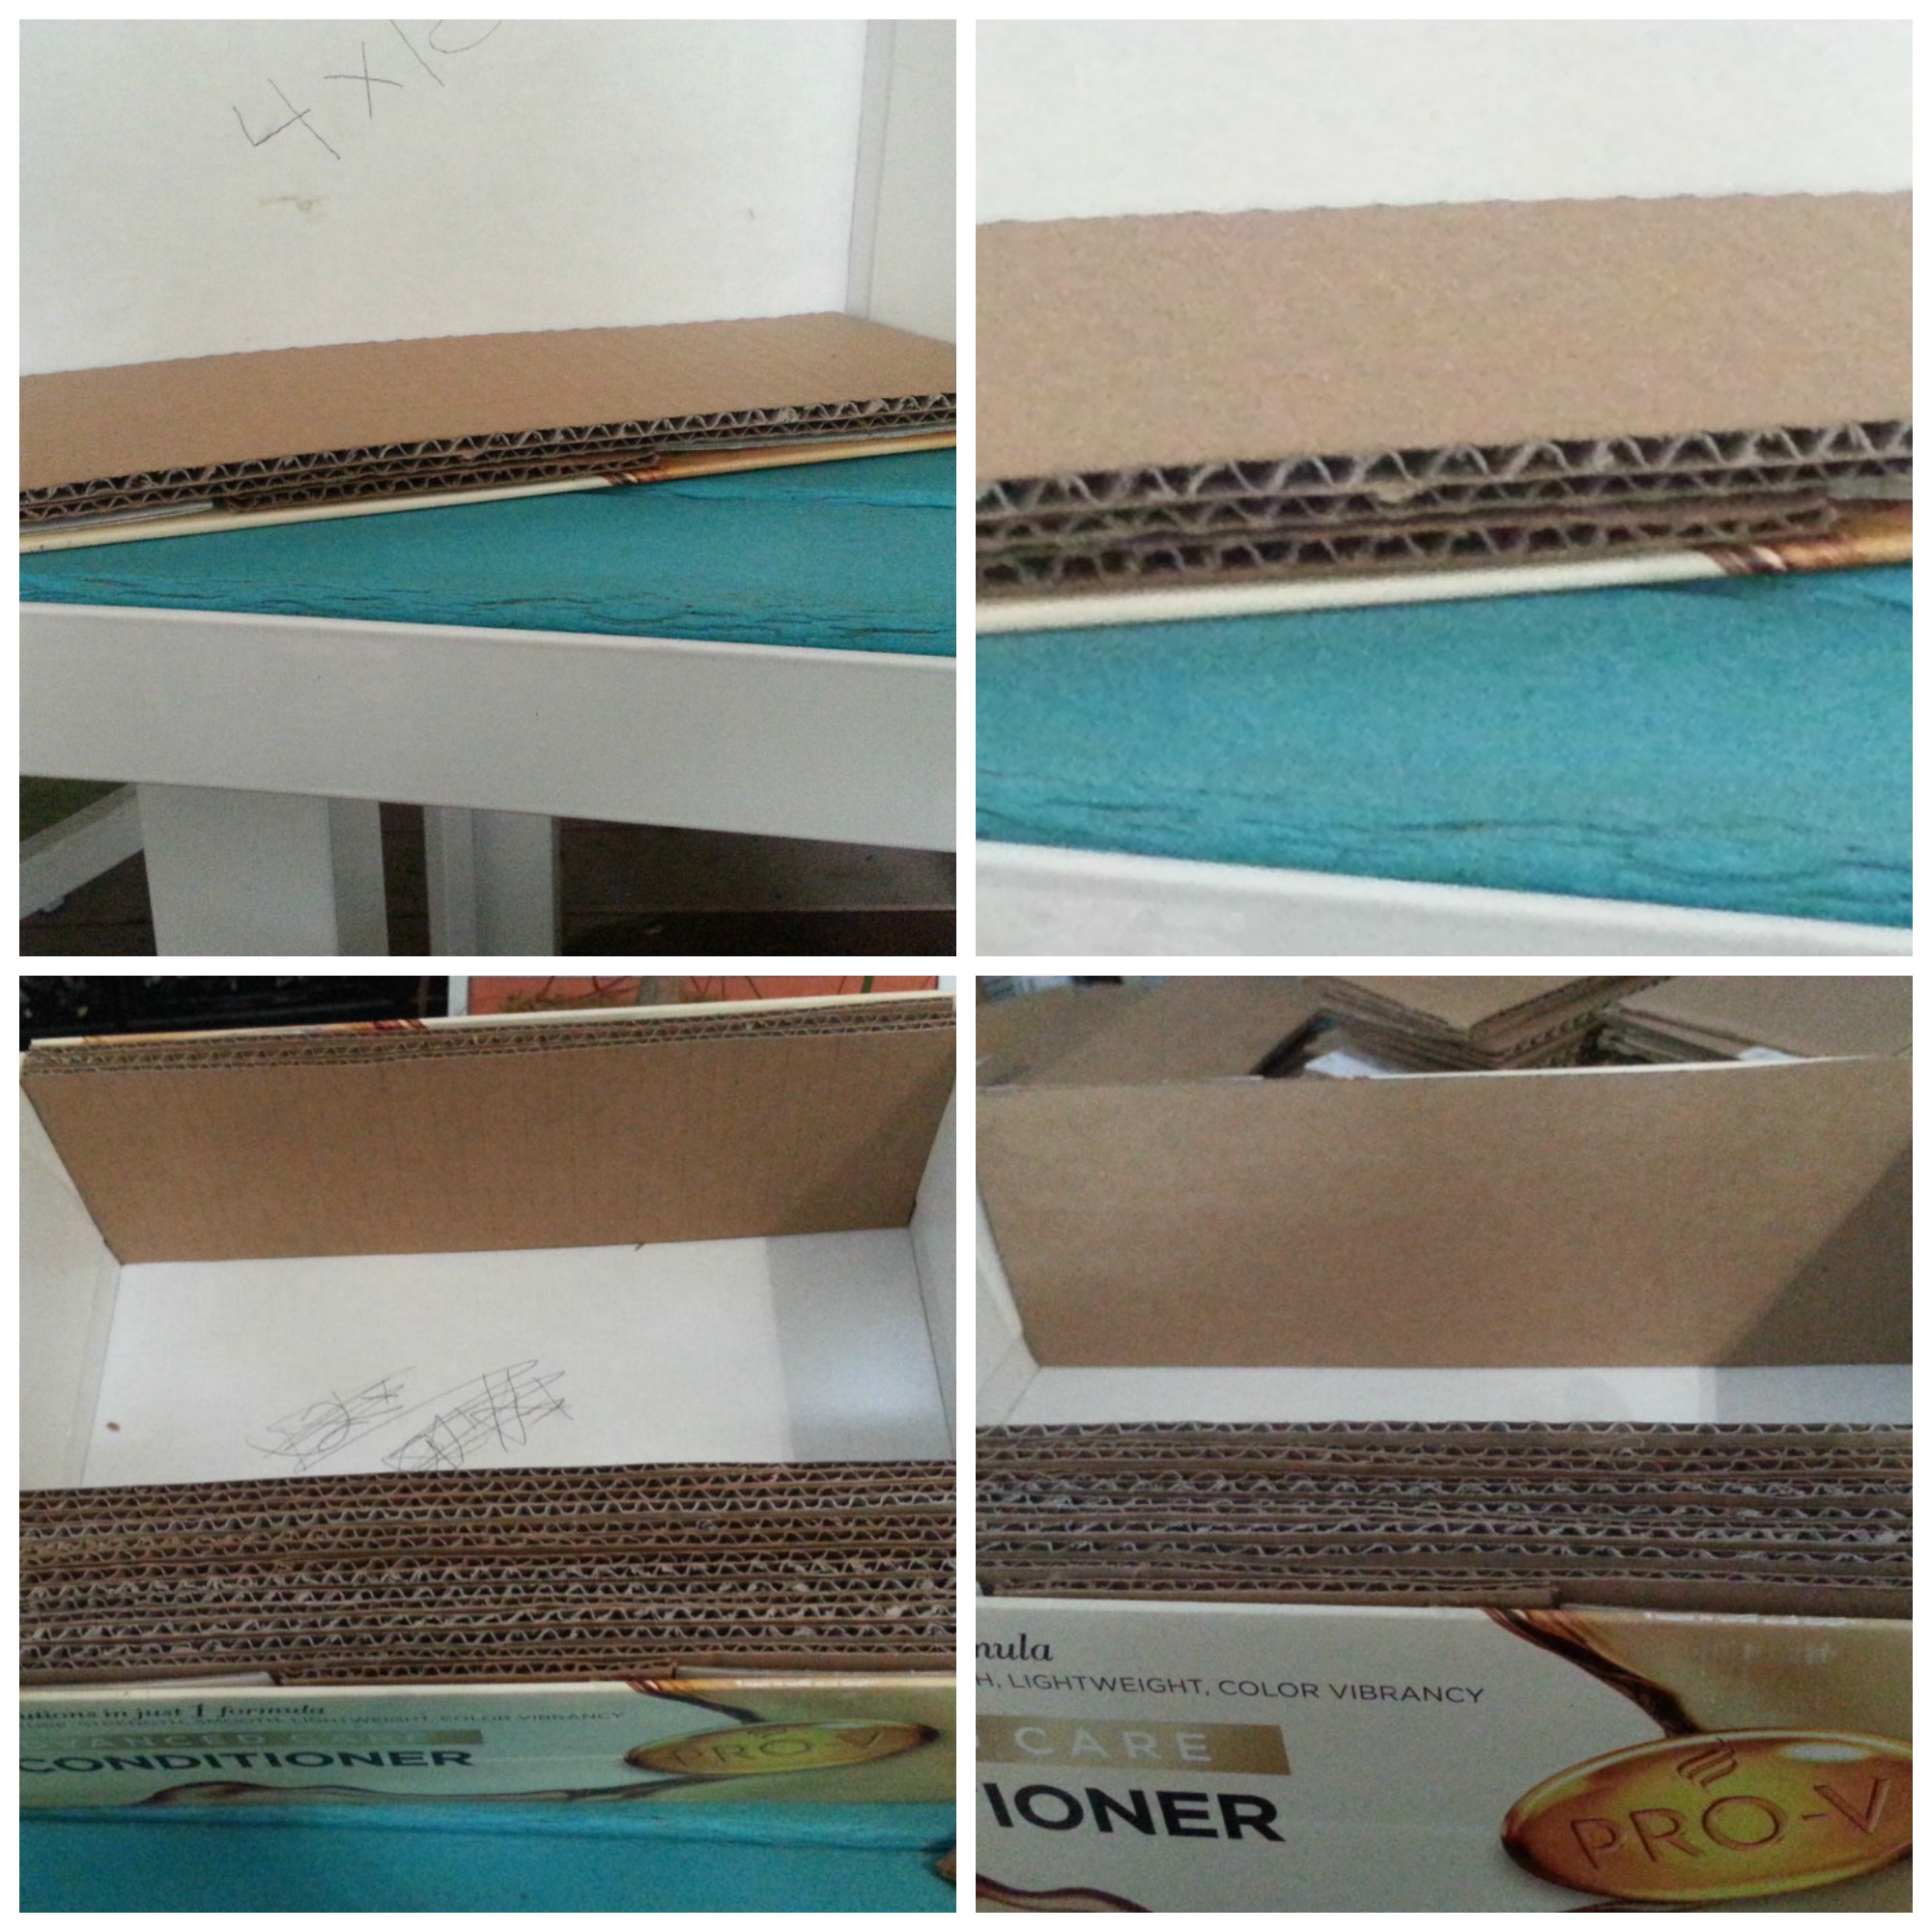
Once I got the pieces together I put a layer of hot glue on one side and pressed it to the already placed 1st block. After about 4 pieces I was able to see the height I wanted. I made sure the height lined up the way I wanted – I went for mild height imperfection to keep a nice scratch texture for the cats.
 I continued the glue to the previous block until I had very little space remaining.
With the remaining space I placed the cardboard in the box to get the fill I wanted and the tight compaction required. Once I got the amount and fit I took the cardboard out and glued them back to back then on either side I placed glue and pushed in slot.
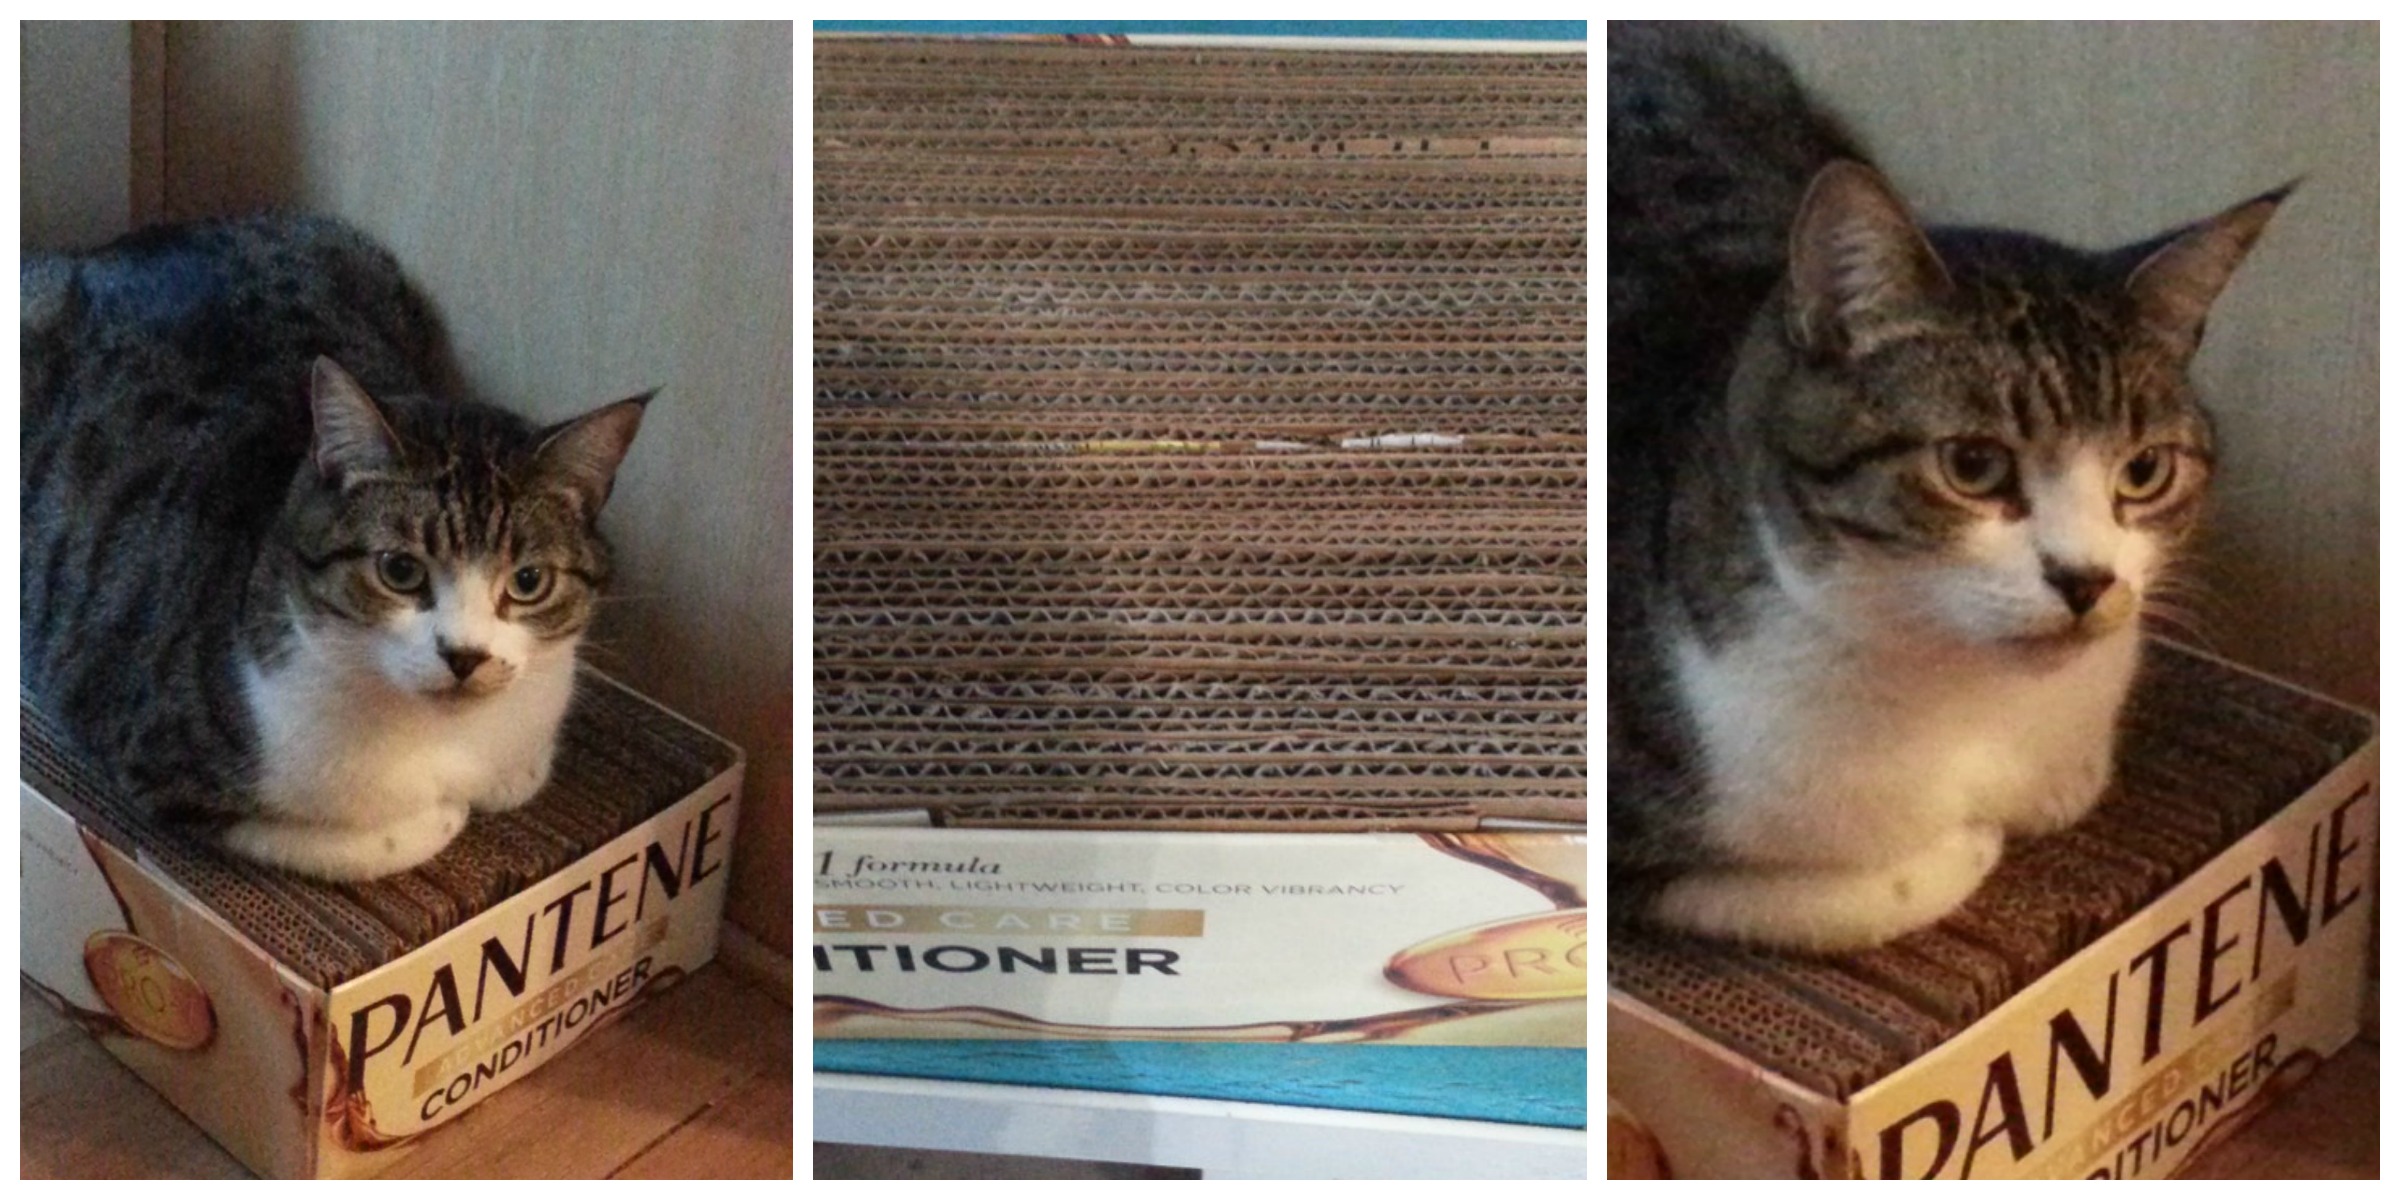 The box was instantly ready for the Muggles and that made me happy. I waited for Jason to get home to see the results and we were not disappointed – it was an instant hit.
Maggee has claimed this as her own already and as spent most of the evening sleeping on it – a success in our house!
If you have any questions about my instructions or explanations please comment and I will get back to you!